"Getting moving boyz we is off ta Bash sum Stunties heads"

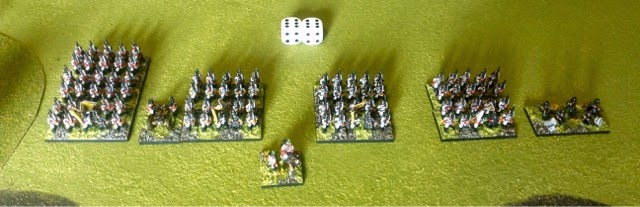
We ran our second Warband game last Weekend at what a cracking game it turned out to be! this time I took command of the Goblin army against my Dad and his Dwarfs. I took CnC, 5 warrior units who were fierce, a bow unit, 1 ogre unit, Giant spiders, wolf riders and a unit of cave horrors (squigs). My Dads dwarfs were made up of CnC 2 units of bezerkers (troll slayers) with the rest of the army made up of dwarf warriors. All of which were resolute.

In the opening moves my ogres made fast progress across the battlefield and charged into the dwarf honour guard who resolutely held their ground. They were then reinforced in the following turn by a warrior unit which swung tne combat in the dwarf favour as the ogres retreated out of the combat. However in the following turn they went crashing back into the Dwarf infantry.

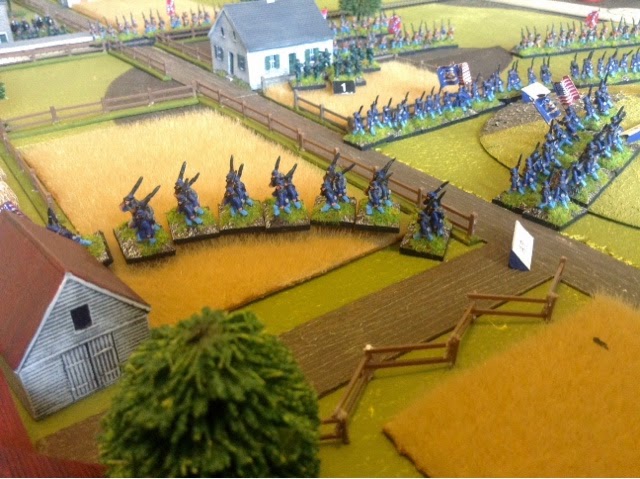
The impetuous TrollSlayers go in a bezerkers rage as they fail their command roll and charge distraught towards the Squigs hacking at themselves in the process.

With the Viant spiders now threatening there flanks the honour guard fight with added zeal and along with the Warriors inflict 6 hits on the ogres...ouch!

Failing there protection roll the ogres morale is reduced to 0 and they turn heels and rout. However my Goblin general moved over towards them in the following turn and rallied them with his remains command points. This was to prove very important in the later turns of the game.

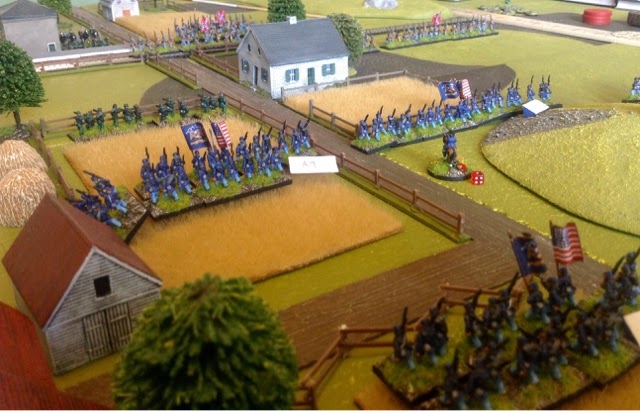
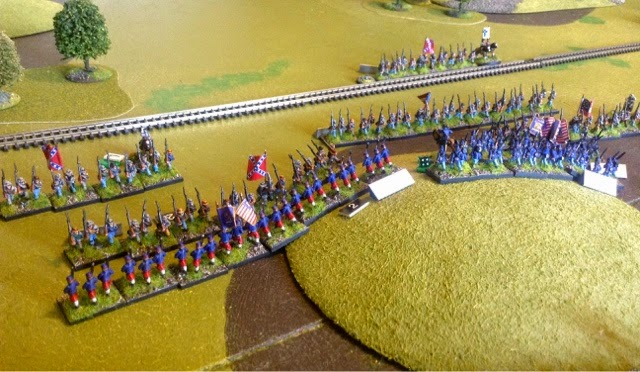
With the Ogres rallied the main Dwarf and Goblin battle line clash in the centre, many rounds are fought as slowly the Drwafs start to get rnd upper hand as the goblin warriors morale starts to drop dangerously low.

The fight goes along the battlefield with only 1 unit from either side not in combat. The Hounour guard on the far hill rout the unit of Giant spiders but themselves are now close to breaking.

My Wolfriders join the fight against the TrollSlayers after riding around their flank as the squigs prove a tough unit in combat, more than a match for the TrollSlayers.

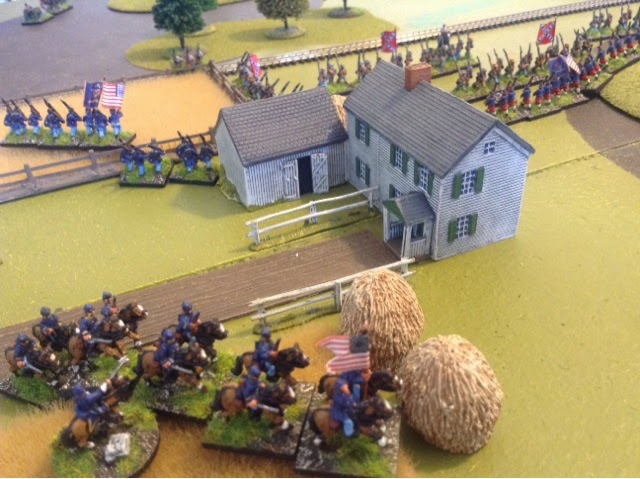
After a dwarf warrior unit routs from combat with the goblin archers & Ogres, I get the initiative again in the following turn and the ogres sucessfully charge into the flank of the Hounour guard, who finally have enough and rout from the combat.

The battle in the centre continues as the Goblins find it tough going to inflict casualties onto the dwarf warriors. However they still remain in the fight.

After falling back in the previous round of combat the Goblin line throws its self back at the dwarfs despite already having suffered heavy casualties in true Greenskin style...wa aargh

The Squigs finally get the better of the troll slayers and rout them and pursue into the second unit of trollslayers. Before they rout, the troll slayers manage to rout the Goblin wolf riders who swiftly leave the battlefield. The Dwarf army is now only 3 points from been broken, all I had to do was break one more unit, the only problem was that the majority of my Goblins were dangerously close to routing too!

The Ogres fresh from routing tne Hounour guard turn and smash into the dwarf warriors just as a unit of Goblin warriors are routed. The Squigs Aldo turn there attention to a unit of warriors and charge into the flank as the Goblin army sensed victory.

However the Dwarfs refused to buckle and hung on as every remaining unit is locked in a desperate combat. All my remaining units are now down to 1 & 2 morale points. Luckily I was managing to roll good command points so I was able to keep my units just about in tne action.

In what turned out to be the final turn crucially my dad rolled a 1 on his command roll meaning he would have little influence over the combats as he would be unable to roll for extra saves etc as so many of the troops were locked in combat. This proved the decisive factor as my general had enough command points to make sure my Goblin units didn't break from combat.

And the final blow was struck by those Ogres, inflicting 3 hits on the dwarf warriors. Only needing edging one casualty to win the game my dad rolled his saving throws and cruelly failed one roll meaning his Dwarf army had broken..

What a fantastic fun close run game this turned out to be. The game went back and forth with both sides taking tne game to their opponents. Importantly I managed to win every initiative roll in the game so I was always able to exploit any opportunities at the start of the turn. My Goblin army was really hanging on by a thread and had I rolled a couple of poor Command rolls towards the end of the game it could of been my army that collapsed and the outcome would have been very different. The dwarfs were hard to beat with the resolute rule but once I got around their flanks I was able to turn the combats in my favour. My ogres proved to be the Man (ogre) of the match as after been routed early doors I managed to rally them quick sharp and get them back into the battle where they accounted forthe loss of 2 warrior units and the Hounour guard unit. The game has twisted my arm into doing a Undead/Vampire army(s) which I've already got my shopping list for, roll on Sheffield tripples show!! great stuff!!!!
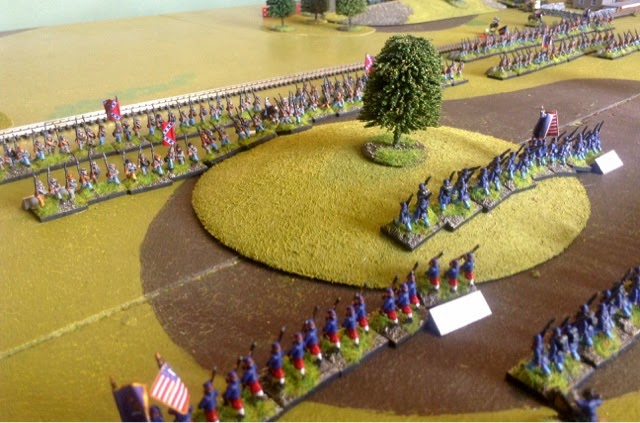
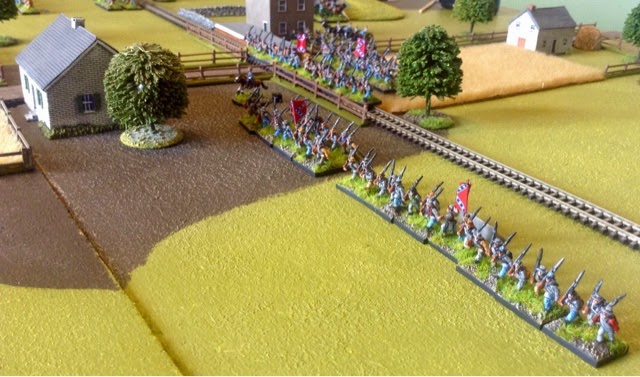
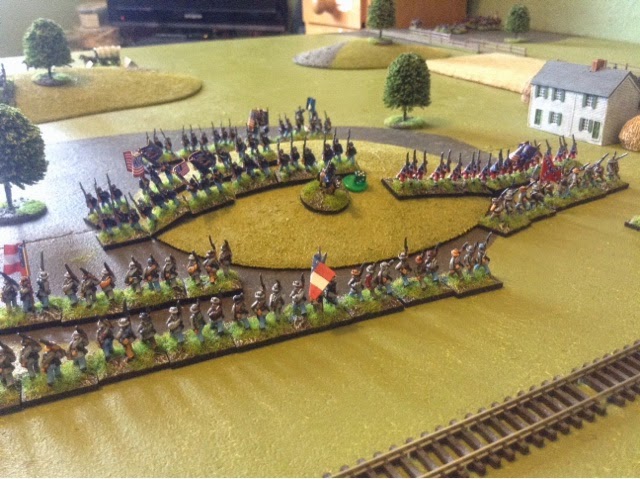
The final battle position


